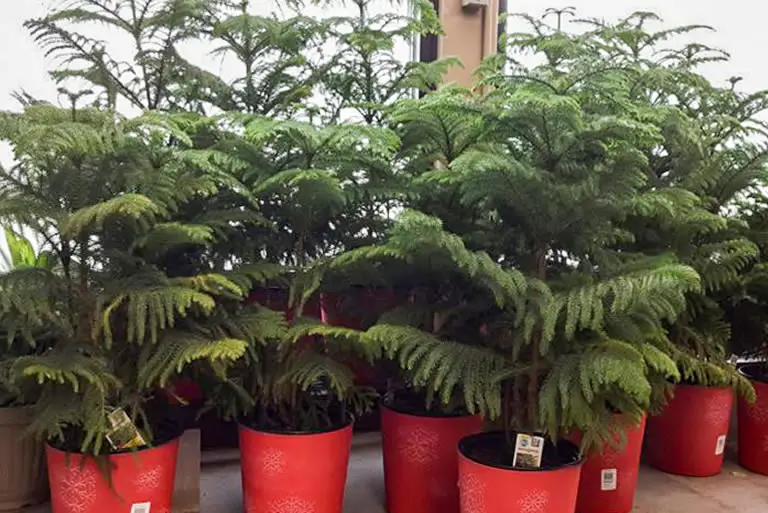
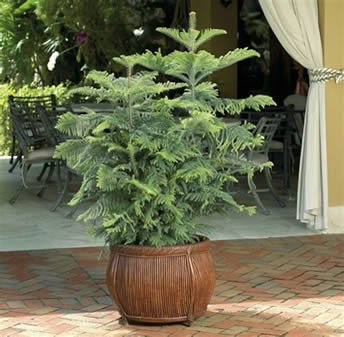
The Norfolk Island Pine (Araucaria heterophylla) isn’t actually a true pine, but it’s just as charming—especially around the holidays when it often shows up decorated like a miniature Christmas tree. With its soft, tiered branches and symmetrical shape, this tropical conifer adds year-round greenery to any indoor space.
Despite its elegant structure, it’s surprisingly easygoing if you understand its few specific needs. Here’s everything you need to know to keep your Norfolk Island Pine happy and thriving indoors—and how to enjoy it outdoors when conditions allow.
Table of Contents
- Plant Background: A Tropical Conifer from a Remote Island
- Light Needs: Bright, Gentle, and Consistent
- Watering: Steady and Thoughtful
- Humidity and Temperature: Keep It Tropical, Not Toasty
- Fertilizer: Gentle Feeding for Steady Growth
- Soil and Repotting: Light and Well-Draining
- Pruning and Maintenance: Minimal Trimming Required
- Best Spot in the Home: Where Norfolk Pines Feel at Home
- Outdoor Care: Summer Holidays in the Shade
- Common Problems and Fixes
- Final Thoughts
Plant Background: A Tropical Conifer from a Remote Island
The Norfolk Island Pine hails from—unsurprisingly—Norfolk Island, a tiny landmass in the South Pacific between Australia and New Zealand.
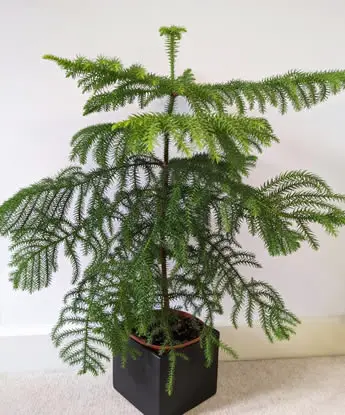
In the wild, it grows over 100 feet tall, but indoors it remains much more manageable, usually reaching between 3 and 8 feet with time.
Belonging to the Araucariaceae family, this species is one of the few conifers that thrive in warm, coastal climates.
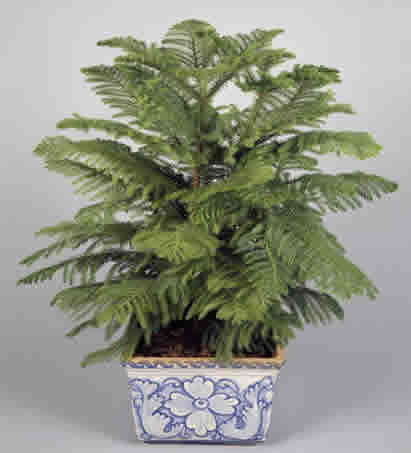
Indoors, it’s loved for its soft, fern-like needles, symmetrical branching, and ability to stay green and beautiful even in low humidity (with a little help).
Though often sold as a decorative plant in winter, it can be a lovely year-round companion with the right care.
Light Needs: Bright, Gentle, and Consistent
Norfolk Island Pines love bright, indirect light. A south- or west-facing window with sheer curtains is ideal.
They can tolerate some direct morning sun but should be protected from intense afternoon rays.
In low light, they tend to get leggy and drop lower branches.
Rotate the plant regularly to keep growth even and prevent it from leaning toward the light source.
Watering: Steady and Thoughtful
Water when the top inch of soil feels dry. Norfolk Island Pines like their soil evenly moist but not soggy.
During winter, let the soil dry a bit more between waterings, but never let it fully dry out or the needles will start to brown and drop.
Use room-temperature, filtered water if your tap water contains high levels of salts or fluoride.
Humidity and Temperature: Keep It Tropical, Not Toasty
Though it looks like a pine tree, this is a tropical plant at heart.
It prefers temperatures between 60°F and 75°F and enjoys moderate to high humidity.
Dry air, especially in winter, can lead to needle drop or brown tips.
Use a pebble tray, humidifier, or regular misting to increase humidity around the plant.
Avoid placing it near heating vents or drafty windows.
Fertilizer: Gentle Feeding for Steady Growth
Feed every 4 to 6 weeks from spring through early fall with a balanced, water-soluble fertilizer.
A formula with an NPK ratio of 10-10-10 like this one, or 20-20-20 like this one, diluted to half strength, works well.
Avoid feeding in winter when the plant slows its growth. Norfolk Island Pines are light feeders and respond best to consistent, gentle care.
Soil and Repotting: Light and Well-Draining
Use a potting mix that retains some moisture but drains well—something formulated for indoor trees or tropical plants.
Repot every 2 to 3 years or when roots begin circling the pot.
Choose a container with good drainage and repot in early spring before the growing season kicks in.
Pruning and Maintenance: Minimal Trimming Required
Norfolk Island Pines don’t need much pruning.
Remove yellow or dead lower branches as needed, but avoid trimming the top, as this can distort the plant’s natural shape.
Dust the branches regularly with a damp cloth or soft brush to keep them healthy and photosynthesizing.
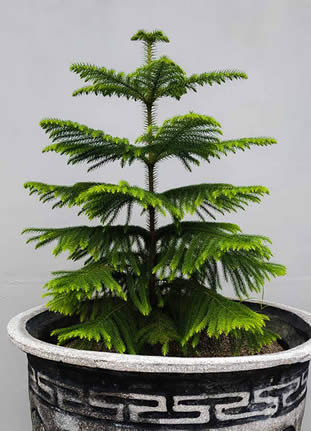
Best Spot in the Home: Where Norfolk Pines Feel at Home
These trees love bright living rooms, sunrooms, or cozy reading corners near large windows.
They do best when given a consistent environment—stable lighting, stable temperature, and no major drafts.
They’re a stunning focal point in any room, especially during the winter months.
Outdoor Care: Summer Holidays in the Shade
In USDA zones 10–11, Norfolk Island Pines can grow outdoors year-round as striking landscape trees.
In cooler zones, they can spend late spring through early fall outdoors in containers.
Choose a sheltered spot with dappled light or light shade to avoid sun scorch.
Gradually acclimate them to outdoor conditions in late spring, and bring them back inside before temperatures dip below 55°F at night.
Check for pests and hose off the foliage before transitioning indoors.
Common Problems and Fixes
Brown needle tips are usually a sign of dry air or inconsistent watering
Fix it by boosting humidity, watering more consistently, and avoiding drafts or vents
Lower branch drop often happens from too little light or dry soil
Fix it by moving the plant to a brighter location and adjusting your watering routine
Pale or yellow needles may indicate too much direct sun or a nutrient deficiency
Fix it by filtering intense light and feeding regularly with a balanced fertilizer
Leaning stems or uneven growth are caused by one-sided lighting
Fix it by rotating the plant a quarter turn every week or so
Root rot can occur if the pot doesn’t drain well or the soil stays too wet
Fix it by letting the topsoil dry before watering and ensuring good drainage
Final Thoughts
Norfolk Island Pines offer a unique blend of tropical charm and evergreen structure.
They’re easy to grow once you find their rhythm—bright light, gentle watering, steady humidity, and minimal fuss.
Whether you keep it plain and peaceful or dress it up for the holidays, this plant brings elegance and calm greenery to your home year-round.